1984 Oldsmobile Toronado Radiator replacement.
What you will need:
5/16” combo Wrench
10MM combo Wrench
3/8” dr. Ratchet
3/8” dr. 6” extension
3/8” Dr. 10MM standard Socket (6 point preferred)
½” Flare nut wrench
Flat blade screwdriver
Pliers
Funnel
New radiator
New upper and lower Radiator hoses
New heater hoses
New Bypass hose
New hose clamps
Transmission fluid
Engine Coolant
About an hour of time
Step 1:
Remove the Negative Battery Cable. This is just for safety reasons. If you are comfortable working with it connected, feel free. I tucked my cable end under the reservoir tube. Drain the cooling system. The drain cock is on the bottom of the radiator, visible from under the vehicle on the Passenger side.
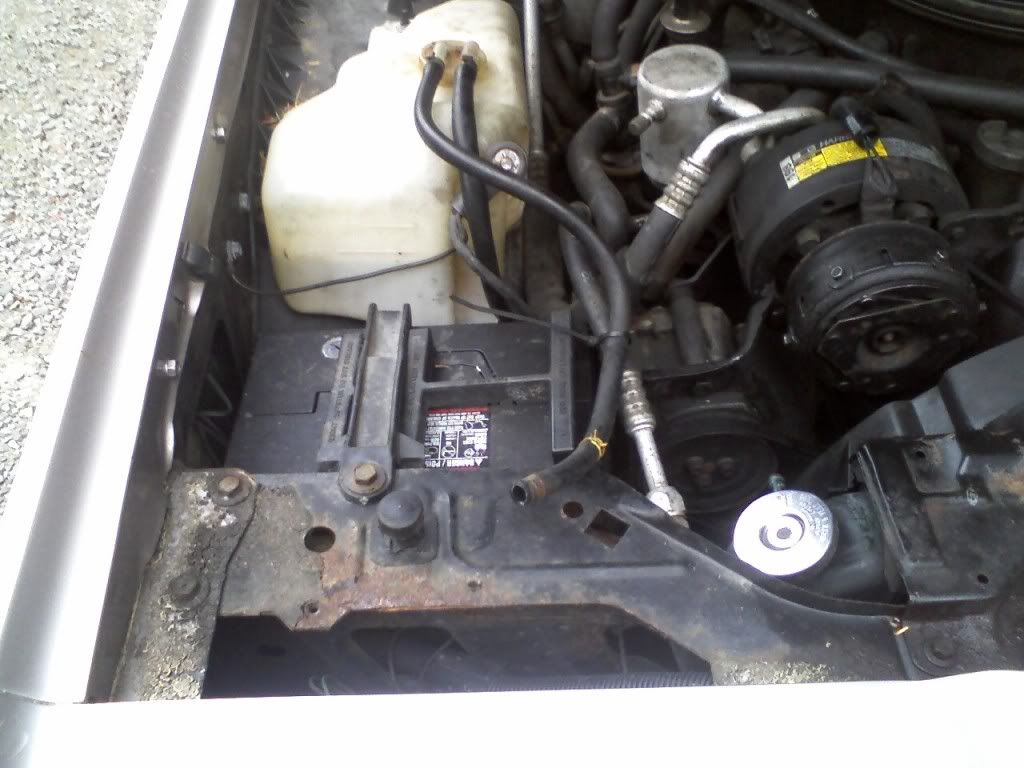
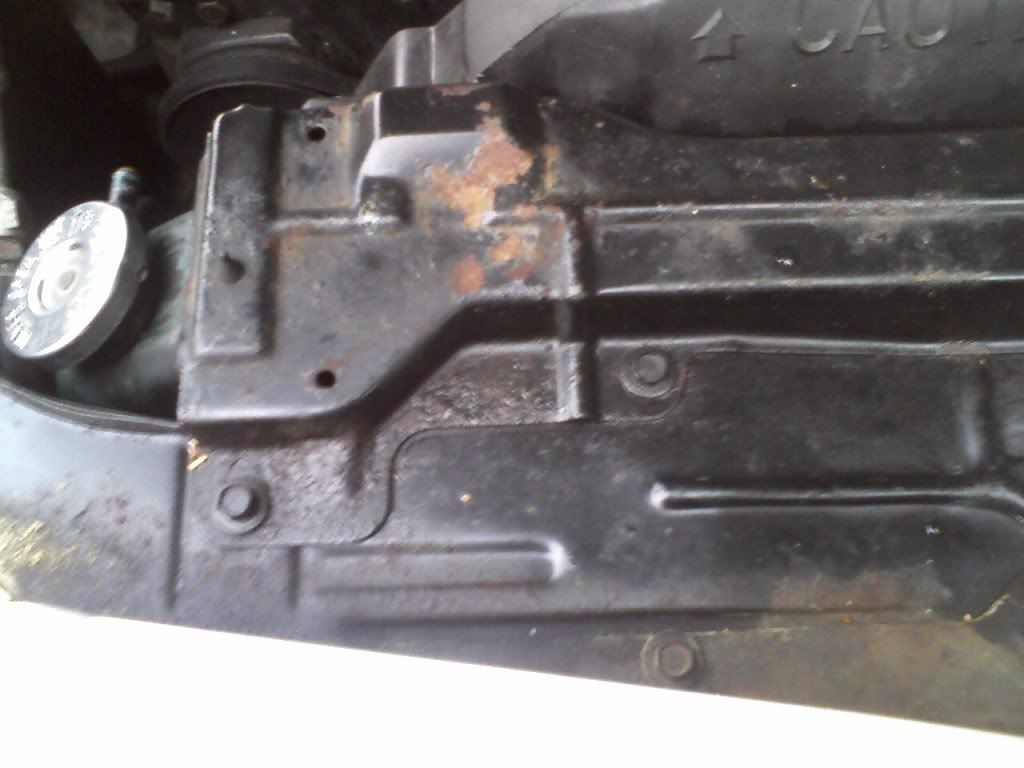
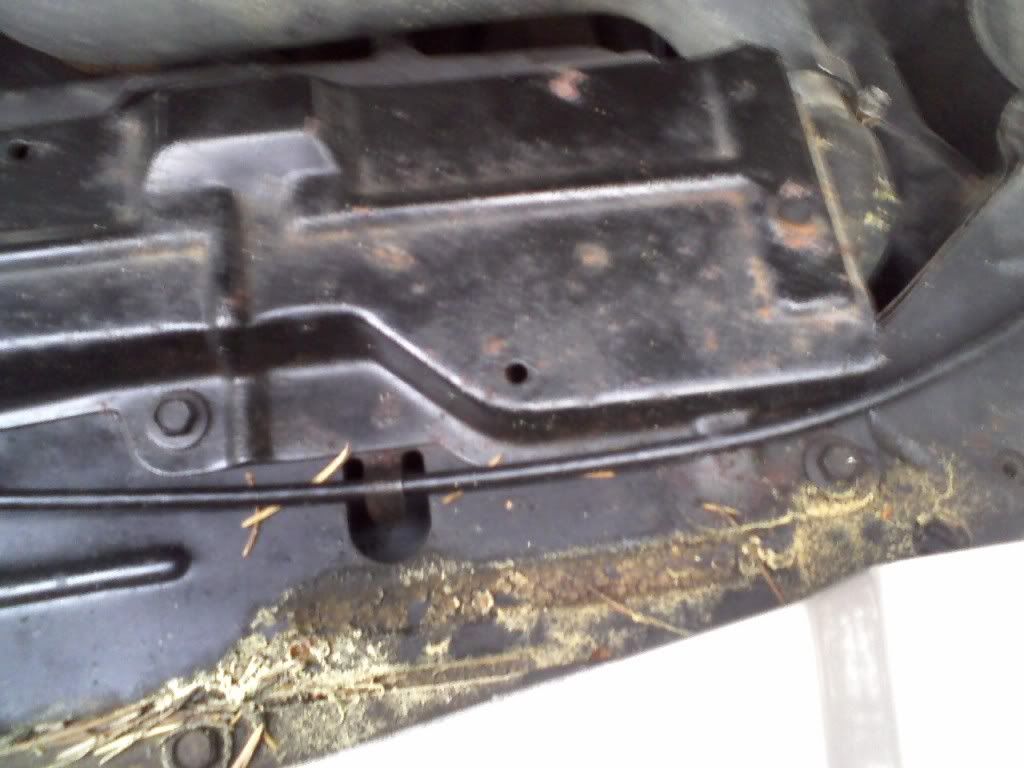
Step 2:
Remove the Radiator Fan Shroud mounting screws (one per side, 10MM size) and set them aside. Move the fan shroud back up on to the fan blades (you may have two more lower shroud screws like I do, don’t remove them, just tilt the shroud back, it’s flexible, so it won’t break easily.). This gives you the room to swing the ½” Flare nut wrench to remove the trans cooler lines. Also remove the upper and lower radiator hoses.

Other shroud screw.
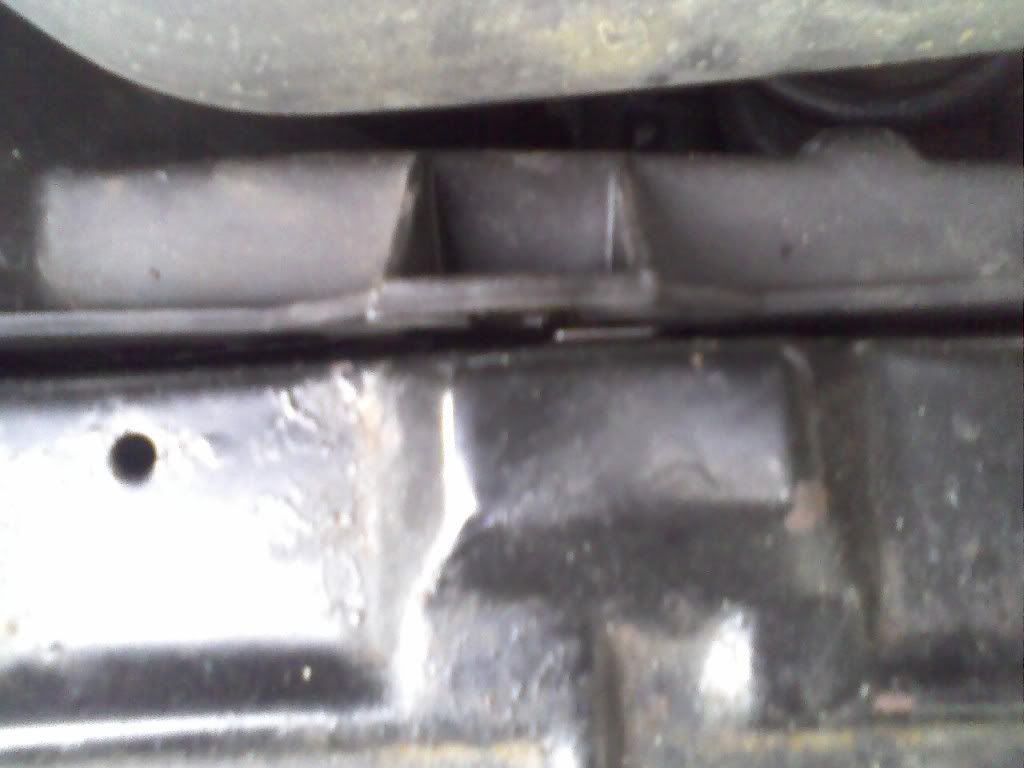
Step 3:
Remove the Upper Radiator Mounting Bracket Screws (Two Per side, 10MM size) and set them aside. Now remove the bracket and set it aside.
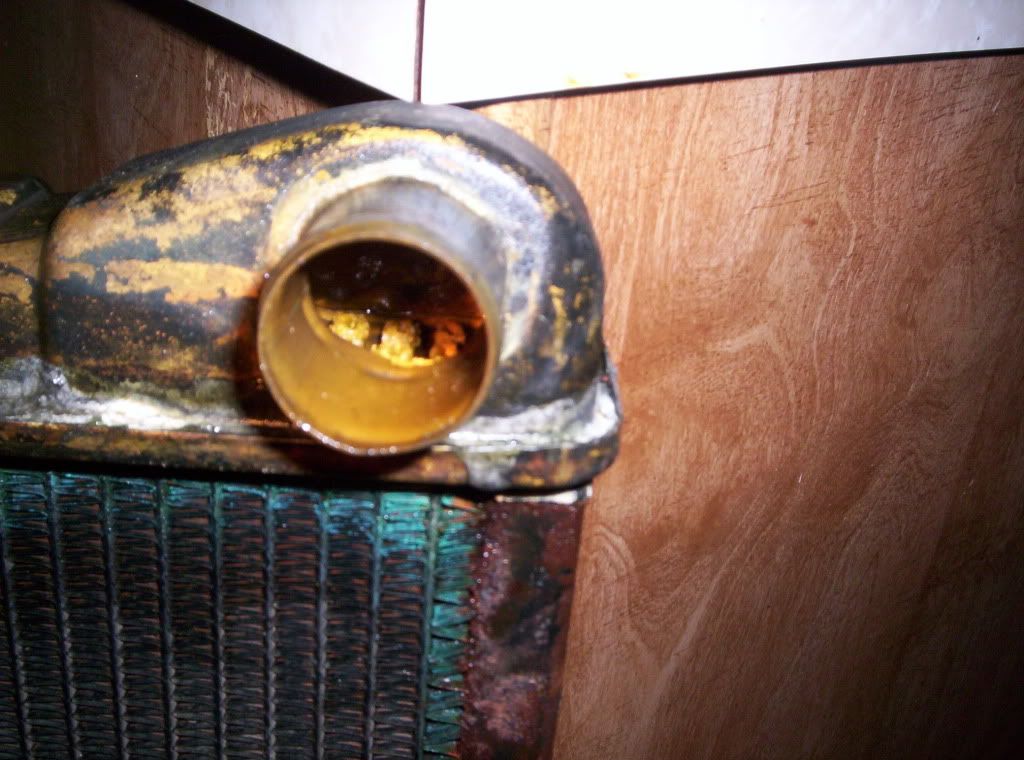
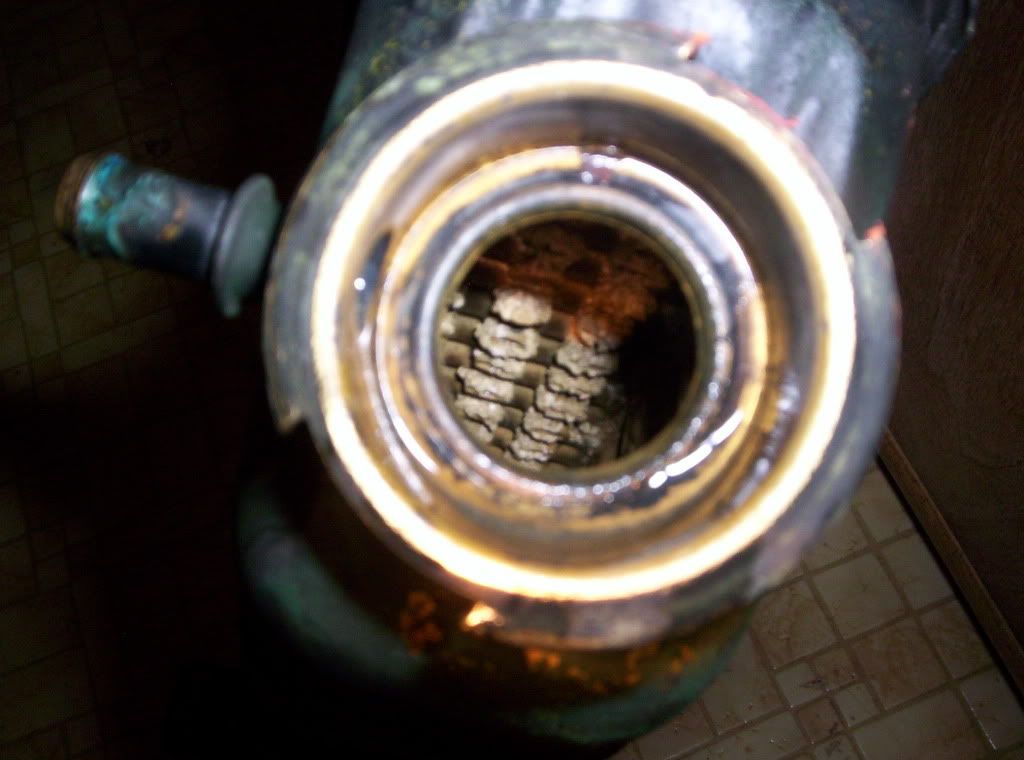
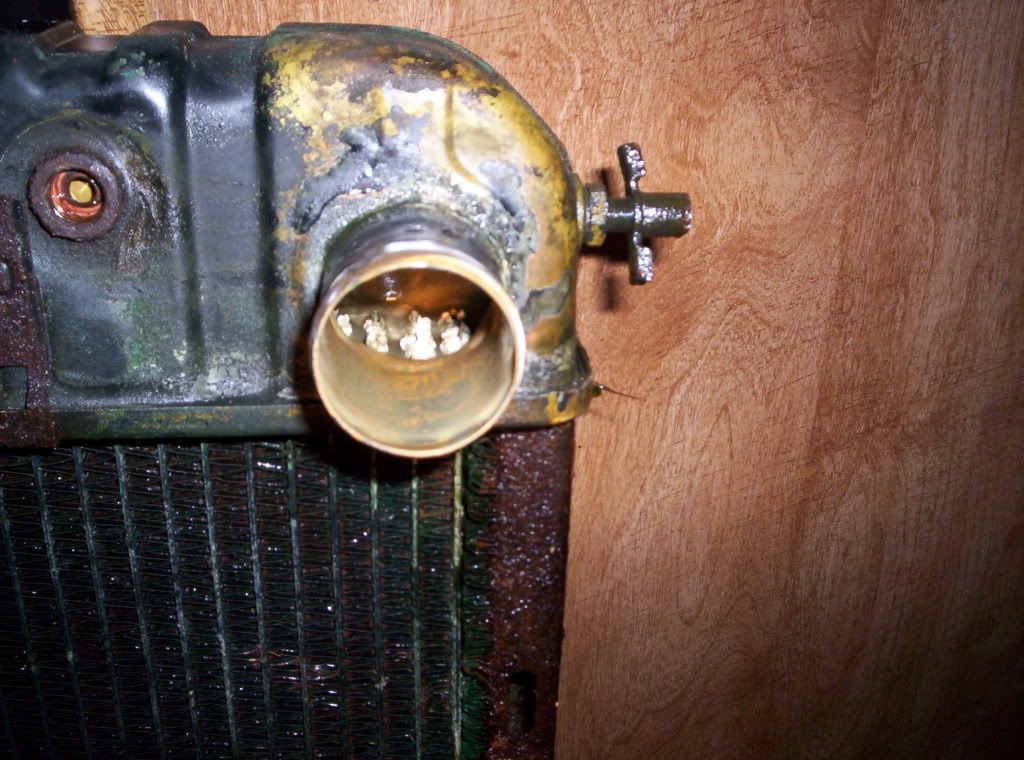
Step 4: Remove the Radiator from the vehicle.
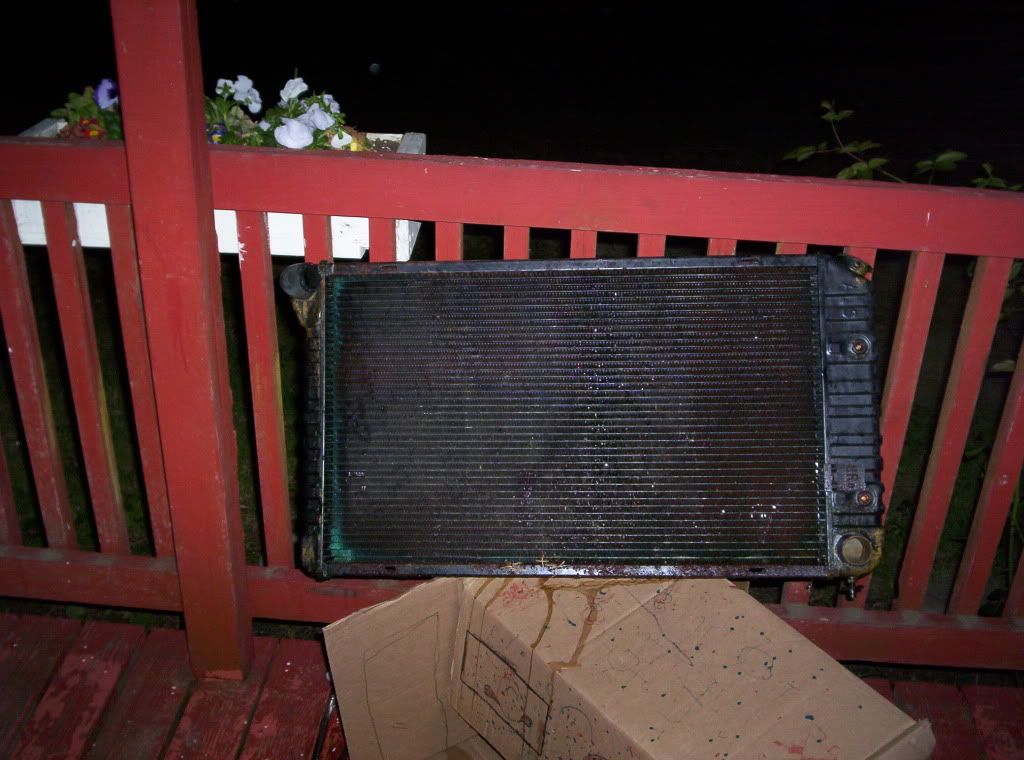
Mine is shown here to illustrate the failure points of mine. Yes, it is corroded on each end and the bottom. I had been chasing an unidentified leak for the last few weeks. I think I found it! The entire top seem of the radiator is what failed outright. The upper most row of fins can be removed with your fingers. The inside the radiator is heavily corroded, which explained my higher than normal cruising temperature (about 210-220 Degrees, vs. 190 Degrees)
Step 5:
Remove the radiator hoses from the intake manifold and the water pump after loosening the clamps. If you have OE style spring clamps, change them out for more reliable worm gear style clamps. Be sure to get Stainless Steel clamps (including SS worm gear) so you won’t have to fight rusty clamps later on.
Installation is the reverse of install, tighten all screws snugly. Refill with fresh coolant and bleed the cooling system. When the cooling system has been refilled (about 4 gallons or so) and no longer bubbling at the fill spout, start the engine and let it run with the cap off. Add coolant as necessary while the engine is running to keep the level full (watch the temp gauge for signs of overheating). Once the thermostat opens (flow noted at the fill spout) you may get a large bubble and the level will drop. Just keep refilling until the level does not drop. Once filled, replace the cap, refill the reservoir and refill the trans fluid to proper level.
Now go and enjoy an engine that doesn’t Piss itself!
Gratuitous pictures of crustiness!