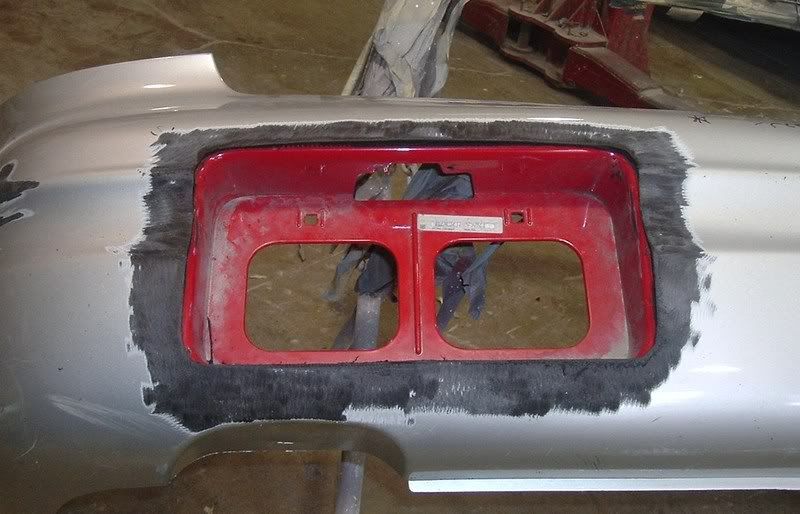
this is the begining stage, here i was still cutting and shaping, getting ready to french the pocket
i use a airless welder, when i had the desired cut and shape, as you see both sides of the plstic were grinded down
then to hold it in place i melted the corners on bothj sides, using the supplied rod in my kit, i will get to that a bit later, once the front was welded shut i let it cool off over night
and shaped with my grinder, before i go any further lets get to know plastic, there are allot of different plastic used on cars today rangeing from polyurathene to ABS
the easiest plastic to work with and retains its shape it polyurathene, it is a non offlien thermo plastic it does not need adheshion promoter for a adhesive to stick
lets move on to PP/TPO/TPE/TEO all those are the most commonly used plastic on a car today, those are offlien, thermo-set plastic, which mean it needs a adheshion promoter for any repair material to stick, so with that being said lets continue.....................................
so now i have the desired shape on the outside i used fusor repair material laid a repair backing first its a plastic mesh, then a adheshion promoter becasue it is TPO plastic, that dries for 20 mins, then i applied the meterial
after grinding the out side i blocked with 80, to make the lines crisp and clean, applied adheshion promoter, dried, then fusor mtaerial, next day started to shape the material, once plastic is promoted no need for more, then i applied more material where needed, then i used fusors skim coat plastic material
no need for flexable primer, or primer for plastic, the primer of today is nnot only corrossion resistant, but it flexs too, but to a point
primed it once sanded it, primed it the final time and you got a frenched piece of plastic, sounds easy but its not it took me yrs to perfect the repair and customizing of plastic